In this article, we will provide a comprehensive guide on how to safely install switches and sockets. If you’re looking to install switches and sockets quickly and securely, this article will undoubtedly be of assistance. Let’s get started.
Table of Contents
Installing a wall switch and outlet requires some basic knowledge of electrical wiring and safety precautions. Before starting, make sure to turn off the power to the circuit you will be working on at the circuit breaker panel. Here are the general steps for installing a wall switch and outlet:
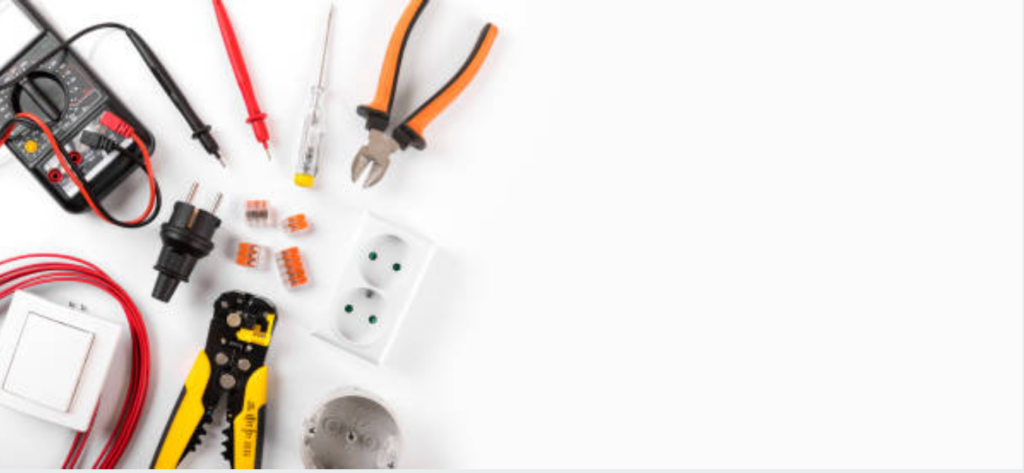
Materials:
-
- Wall switch and outlet
-
- Electrical box
-
- Electrical wire
-
- Wire nuts
-
- Screwdriver
-
- Pliers
-
- Voltage tester
Choose the location for the wall switch and outlet.
Make sure the spot you choose complies with local electrical codes and is easily accessible.

Preparing for Installation: Safety First
Always turn off the power at the circuit breaker panel before you begin.
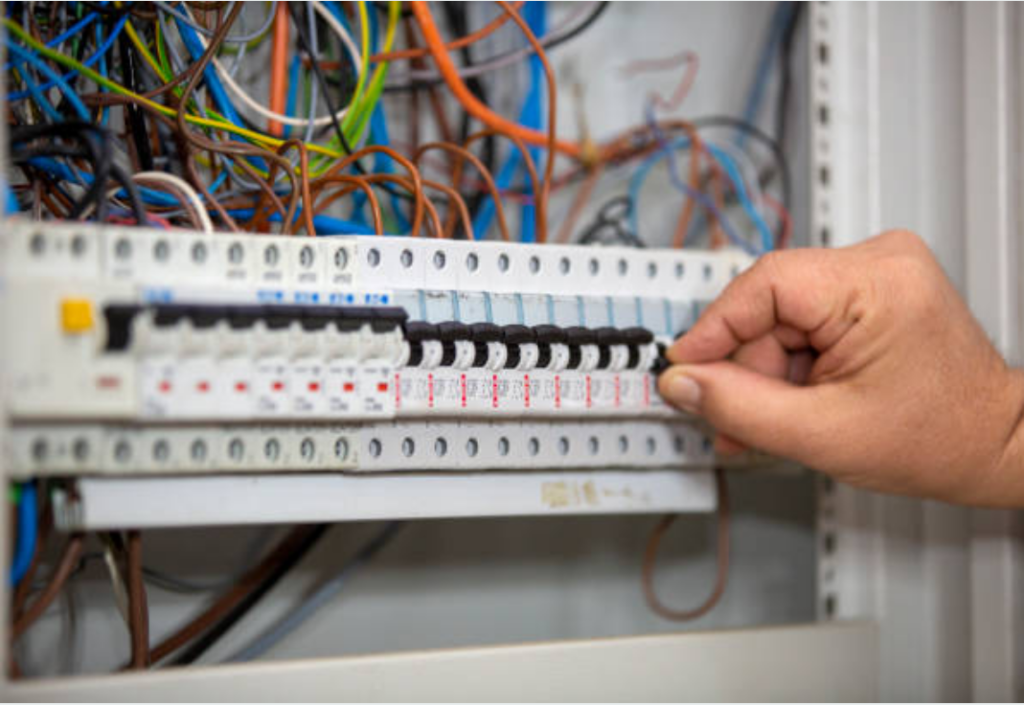
Removing Old Switches and Outlets
If there’s an existing switch or outlet, unscrew it from the wall box and gently pull it out.
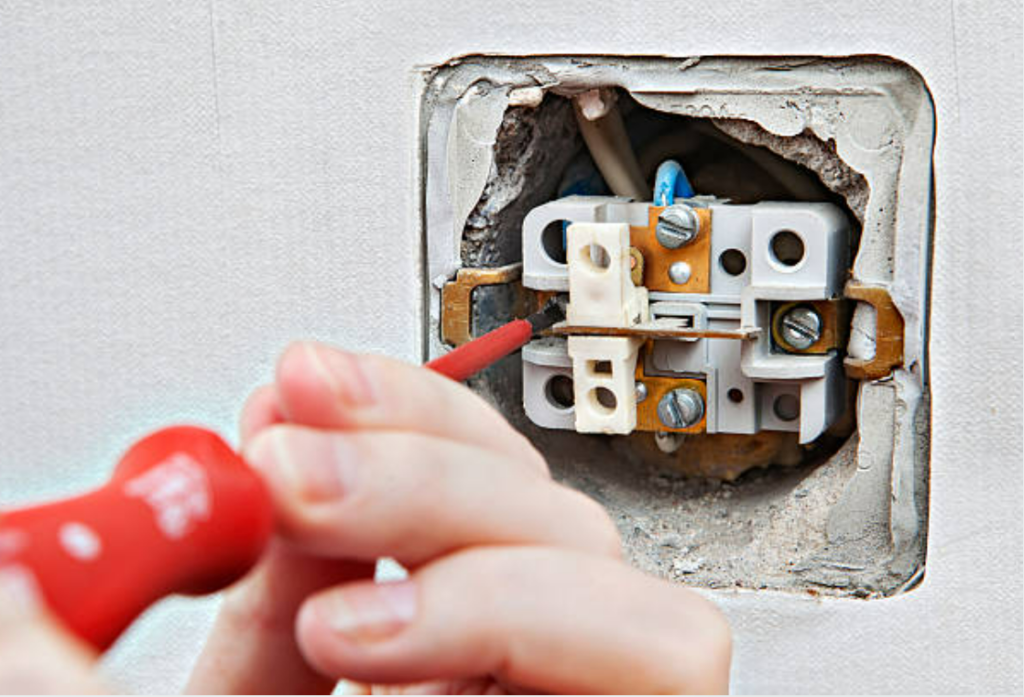
How to Wire a Switched Outlet with 2 Wires
The black (hot) wire connects to the brass screw, while the white (neutral) wire links to the silver screw on the opposite side.
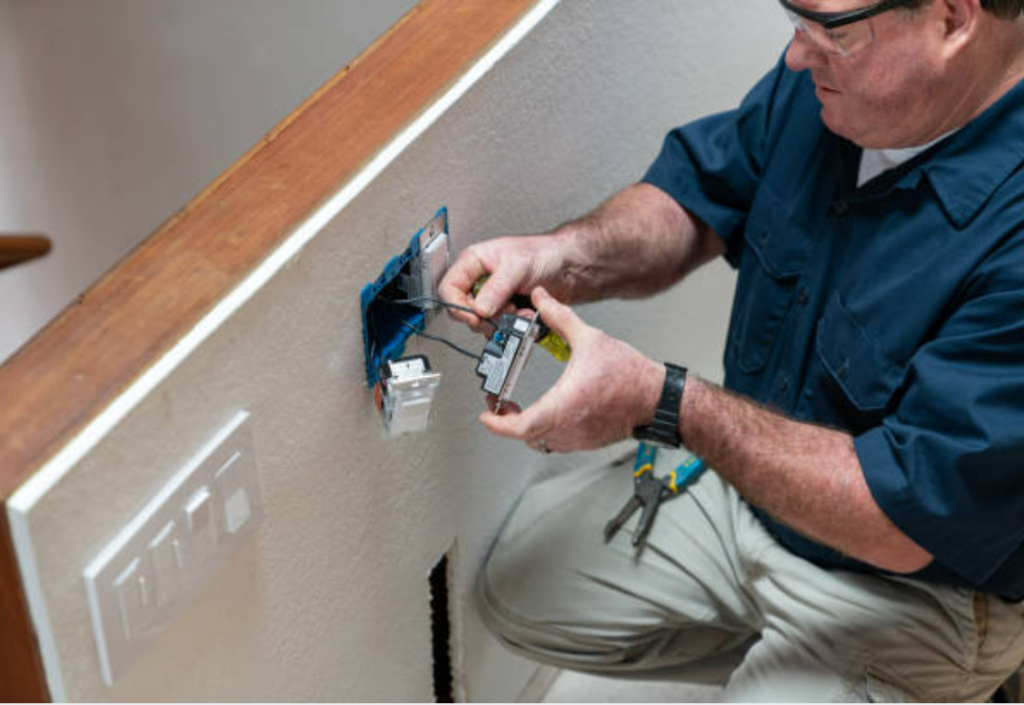
Installing a Light Switch and Outlet in the Same Box
Use pigtails to connect the incoming hot wire to both the switch and the outlet. Connect the neutral wire directly to the outlet and to a second pigtail for the switch.
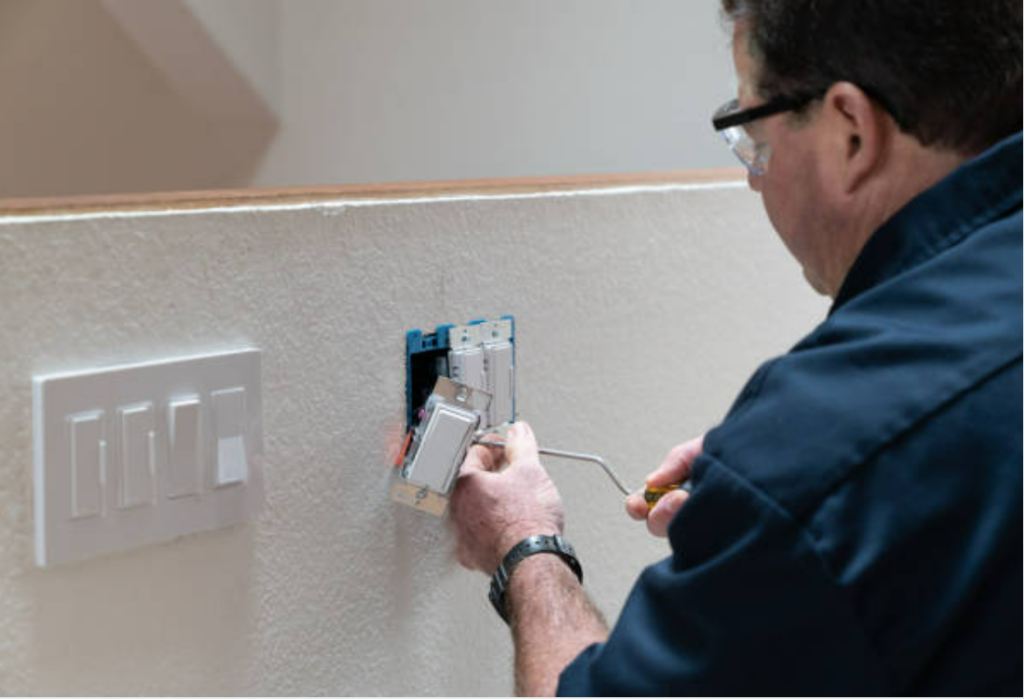
Wiring a Switch to Control an Outlet
From the power source, attach the black (hot) wire to the switch, then to the hot terminal on the outlet. The neutral wire goes directly to the outlet.
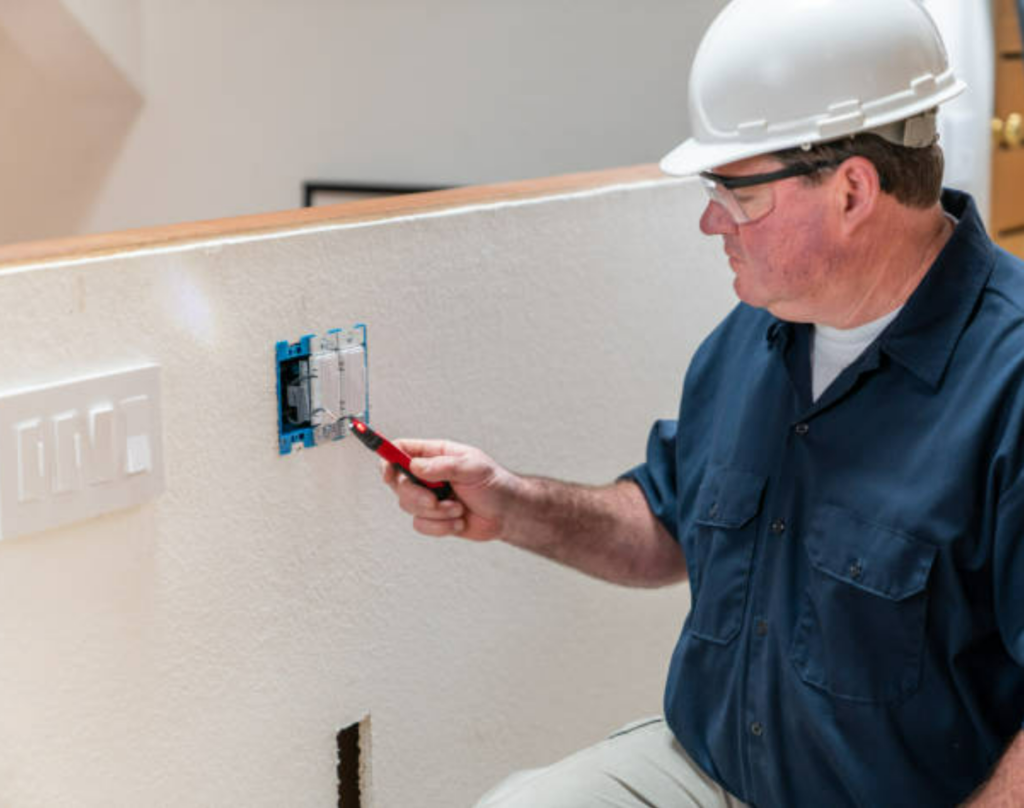
Securing the Switch or Outlet in the Wall Box
Screw the new device into place in the wall box.
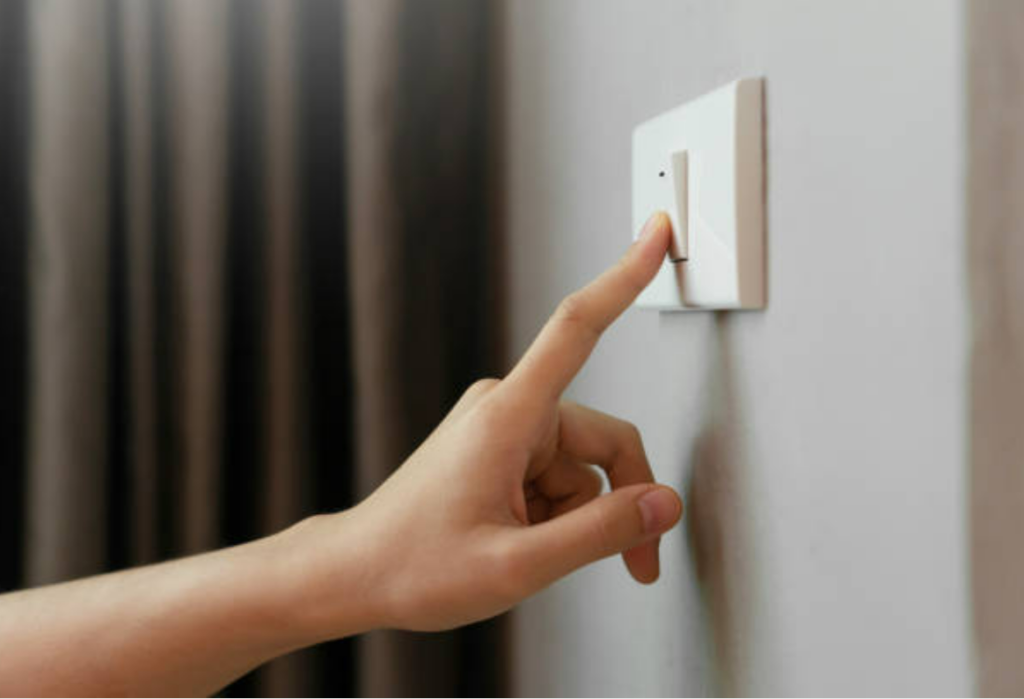
Installing a Cover Plate for Aesthetics and Safety
A cover plate protects the wiring and gives a tidy appearance.
Testing Your New Wall Switch and Outlet
Turn the power back on, use a voltage tester to ensure the circuit is energized, and check the functionality of the switch and outlet.


